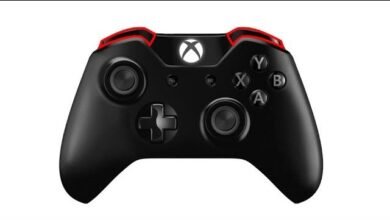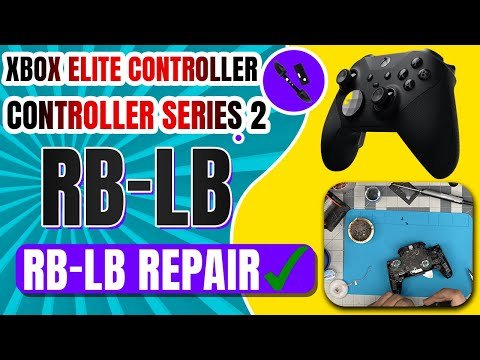
The LB (Left Bumper) and RB (Right Bumper) buttons are among the most frequently used inputs on an Xbox One controller. Whether you are throwing grenades in first-person shooters or blocking attacks in action RPGs, these shoulder buttons take constant pressure. Over time, the thin plastic bridge connecting the two bumpers can snap, leading to sticky responses, loose travel, or completely unregistering clicks.
Replacing the LB/RB bumper assembly is a straightforward home DIY repair that requires no soldering. This guide covers controller model identification, essential tools, step-by-step replacement, and troubleshooting.
Identifying Your Xbox Controller Model
Before ordering replacement parts, you must identify your exact Xbox controller model. Microsoft revised the internal structure of the Xbox One controller across three main revisions, and bumper assemblies are not universally interchangeable between models.
| Controller Revision | Model Number | Headphone Jack | Bumper Design Feature |
| Original Xbox One | Model 1537 | No 3.5mm jack | Separate multi-piece bumper mechanism |
| Xbox One (3.5mm Version) | Model 1697 | Integrated 3.5mm jack | Unified middle plastic bridge piece |
| Xbox One S / Bluetooth | Model 1708 | Integrated 3.5mm jack | Top middle shield integrated into front faceplate |
Where to find your model number: Open the battery compartment on the back of the controller and remove the AA batteries. Look at the sticker inside the battery well for the 4-digit number following “Model.”
Required Tools and Parts
Replacing controller bumpers requires specialized safety screwdrivers because Microsoft uses tamper-resistant screws.
-
T8 Security Torx Screwdriver (T8H): Needed for the main outer body screws. The central security pin hole in the driver head is required.
-
T6 Torx Screwdriver: Needed for smaller internal motherboard screws (on select revisions).
-
Plastic Pry Tool / Spudger: Prevents scratching or warping the outer plastic side grips during casing removal.
-
Replacement LB/RB Bumper Assembly: Ensure you match Model 1537, 1697, or 1708.
-
Tweezers (Optional): Useful for handling small internal clips and spring mechanisms.
Step-by-Step LB/RB Bumper Replacement
Follow this ordered procedure to disassemble the casing, remove the damaged bumper assembly, and install the new unit.
Troubleshooting Common Post-Repair Issues
If your bumpers feel stiff or fail to register after reassembly, check these common points:
1. No Click Sound or Muffled Travel
-
Cause: The bumper plastic arm is misaligned with the tactile micro-switch on the circuit board.
-
Solution: Reopen the top faceplate. Ensure the small plastic actuation peg on the underside of the replacement bumper rests directly against the square metal micro-switch on the PCB.
2. Side Grips Don’t Snap Flush
-
Cause: Bent plastic alignment pins along the handle seam.
-
Solution: Remove the side grip, inspect the internal alignment pins, align the top edge near the bumpers first, then press downward along the handle.
3. Controller Won’t Power On
-
Cause: The center screw behind the battery sticker was overtightened, or battery contact tabs were bent during disassembly.
-
Solution: Ensure battery terminal metal contacts in the well make firm contact with battery ends.